November 20, 2025
AI Auto-Layout Winter Update
Share
BuildWithFlux


Thousands of you put it through its paces. You tried it on real boards, found its edges, and told us exactly what would make it more useful in your workflow. Your feedback shaped every improvement in this release.
This update builds on the same vision as the first release. Layout should feel intuitive from setup to review, and AI should handle the repetitive work so you can stay focused on design.
This version of the model is not designed to fully autoroute every class of board without your input. You should still expect to step in for high speed interfaces, tight length matching, unusually thick power nets that land on small pads, and designs with strict layer reservations. The sweet spot today is a workflow where you define the important constraints and critical paths, then let AI Auto Layout finish the remaining 80 percent.
The more context you give AI Auto Layout, the better the results. When rules are realistic, sensitive areas are protected, and critical signals are handled up front, the router can focus on what it does best: finishing the busy work in a way that looks like a human EE’s layout.
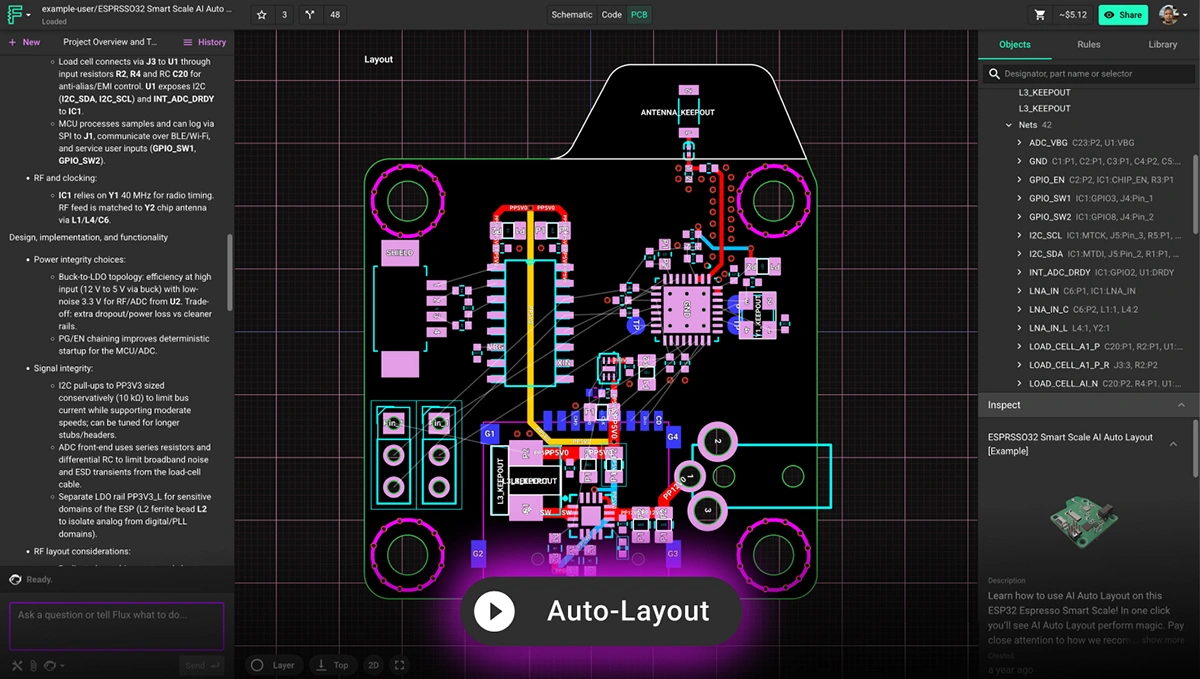
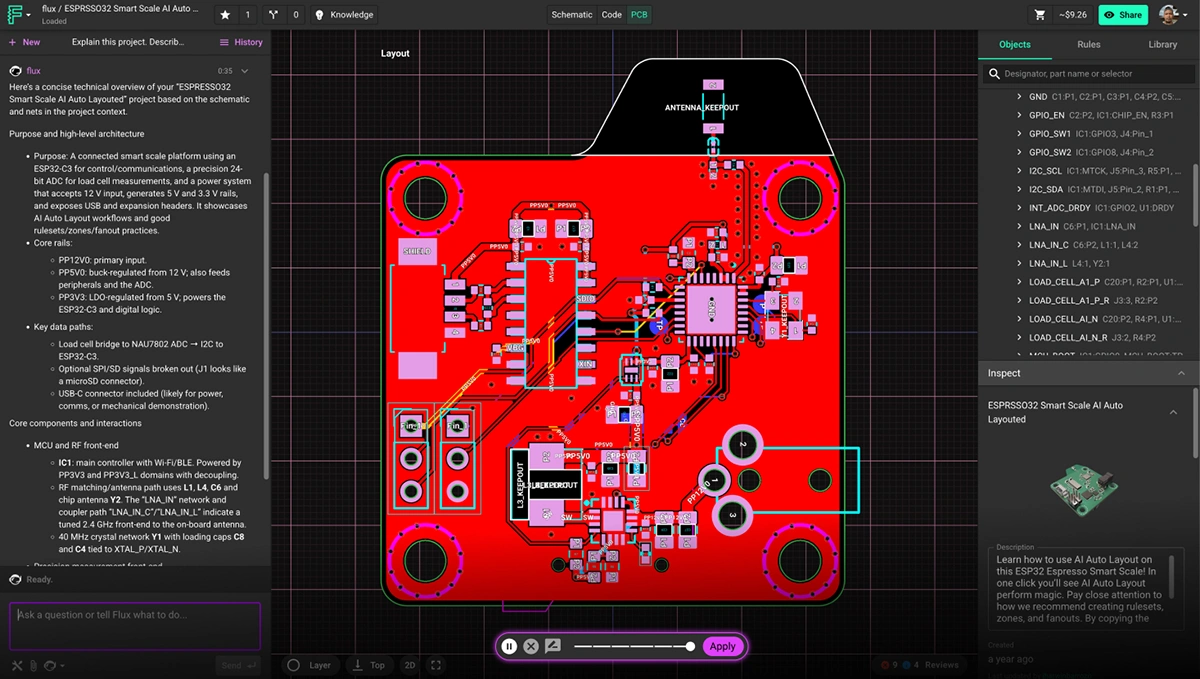
If you want to see what a well-prepared setup looks like, check out this ESP32 Espresso Smart Scale project. You can even run AI Auto-Layout to see it perform it’s magic.
Here is a quick checklist to prepare your board before you run Auto Layout.
Learn more about how to setup your project by watching this video tutorial or reading the documentation on AI Auto-Layout.
Traditional autorouters treat routing as a geometry puzzle. They chase shortest paths and resolve constraints, but ignore the realities that matter to engineers: manufacturability, signal behavior, and the ability to understand the layout at a glance. The result is familiar. Tangled traces. Excessive vias.
AI Auto Layout approaches the problem differently. It learns patterns that resemble human decision-making and adapts its choices as it routes, which leads to results that feel deliberate, balanced, and easier to work with.
This update sharpens that behavior. The routing is cleaner, straighter, and more aligned with your placement intent. You will see fewer unnecessary layer transitions, more predictable via placement, and stronger power paths. Layouts are easier to review, reason about, and move toward manufacturable results. In many cases, the output looks like a thoughtful first pass from an experienced engineer.
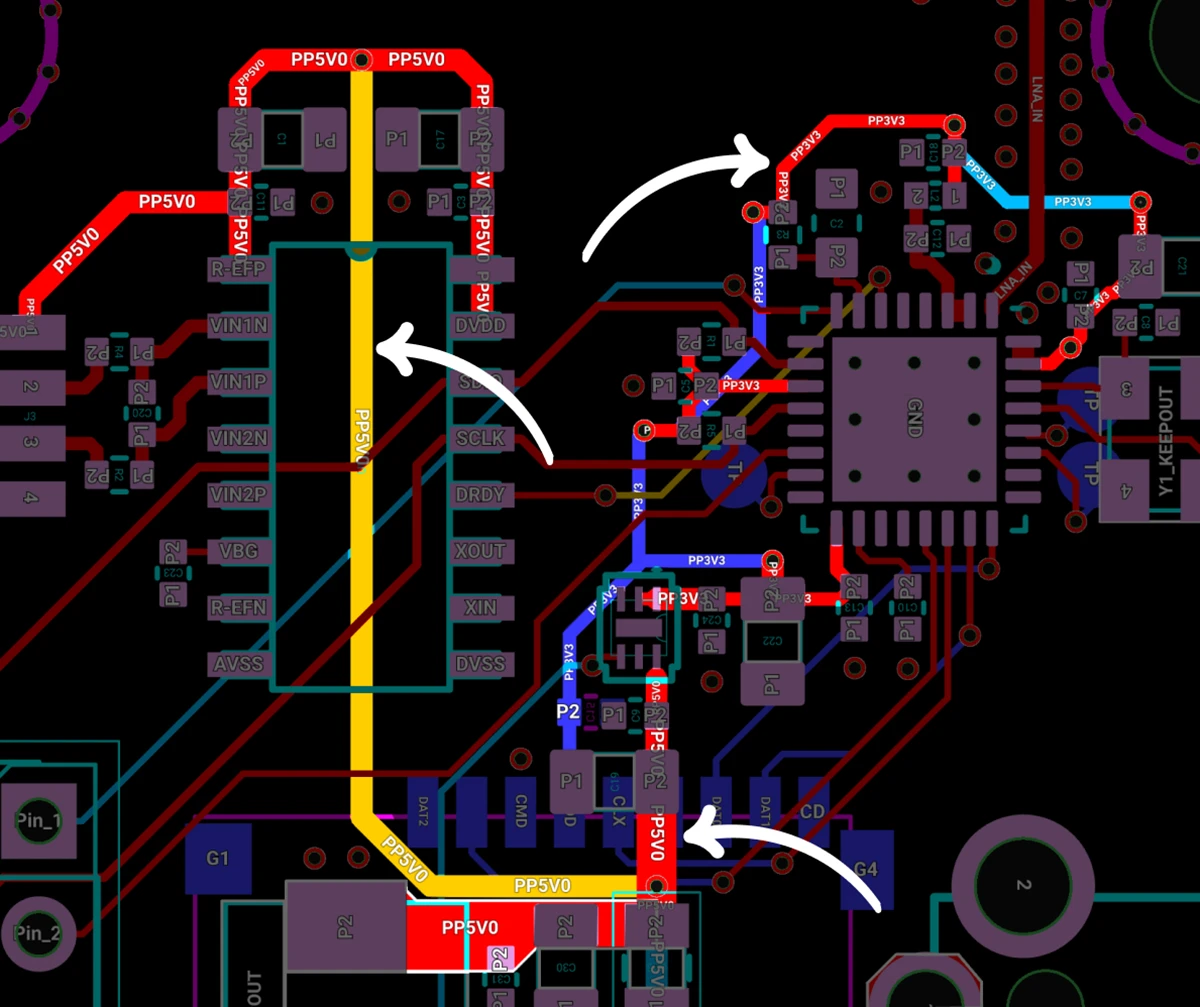
Clean Power Distribution: Auto-Layout routed the 5V0 and 3V3 rails with solid continuity, avoiding broken return paths and keeping them isolated from noisy elements like the antenna and full-speed SD card. The result is stable power delivery with fewer opportunities for interference.

Reliable Signals Across High-Power Copper: Auto-Layout navigated routing around high-power copper while preserving the integrity of critical feedback signals. The results are cleaner paths, fewer compromises, and a design that behaves exactly as intended.
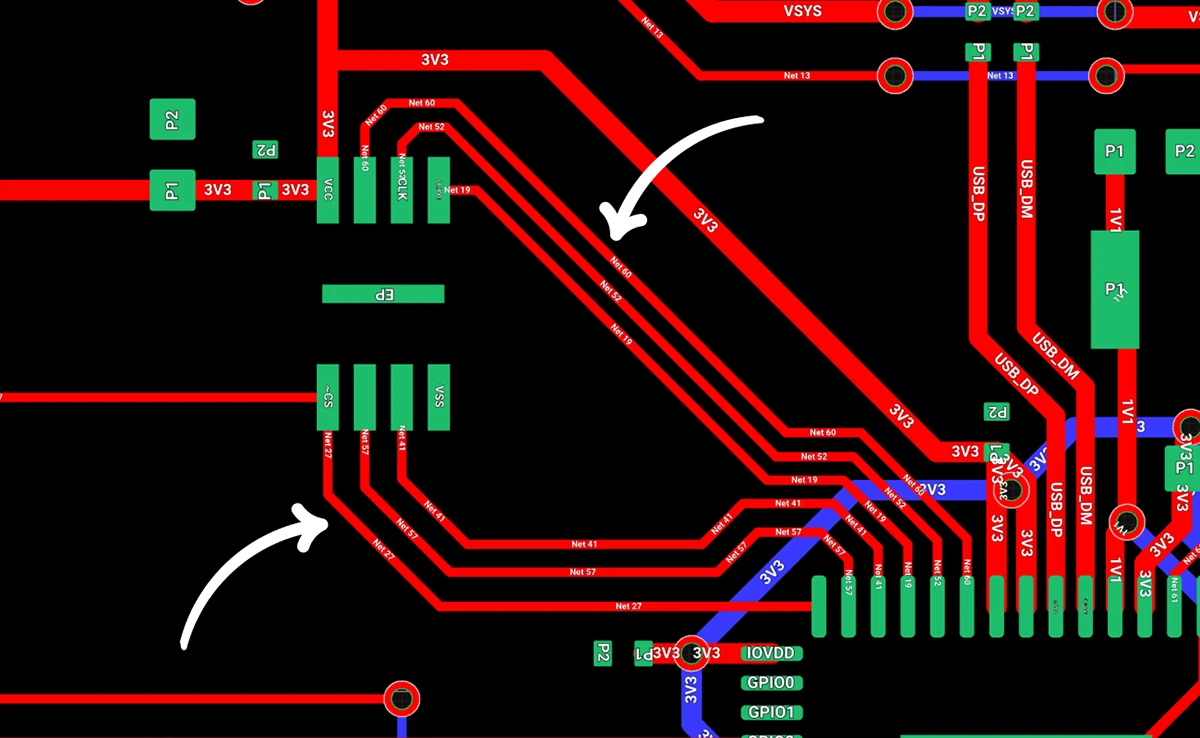
Less Layer Transitions and Vias: By intelligently routing traces, it creates cleaner signal paths, improves electrical performance, and helps simplify manufacturing. The result is a more efficient, robust board design with fewer potential points of failure and often lower production costs.
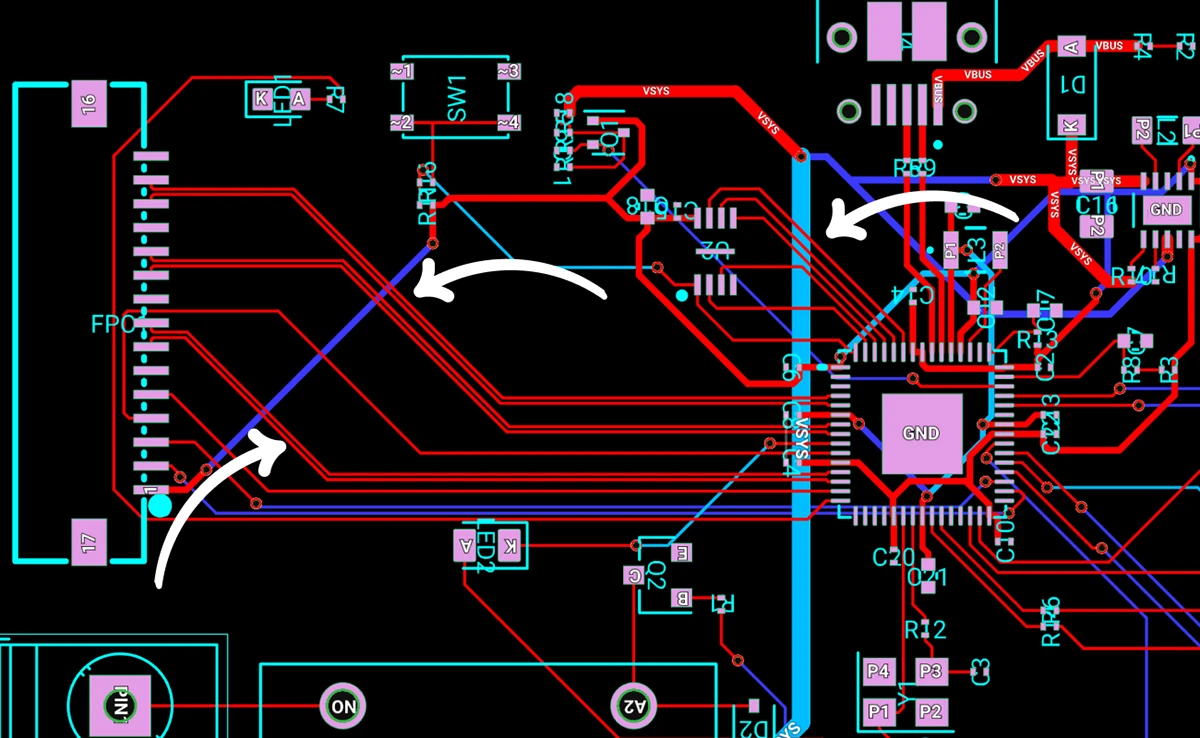
High-Speed Signal Pathfinding: Auto-Layout roughed in clean first-pass routes for medium-complexity boards, including a 3-lane MIPI-CSI interface, the ESP32’s QSPI bus, and its critical clock lines. It maintained proper layer separation, avoiding routing traces directly beneath each other on adjacent layers to help preserve signal quality.
AI Auto Layout is faster in this release. On well prepared boards, the new model reaches strong solutions sooner and stops when further search is unlikely to improve quality. You avoid long, wandering runs and get to a clean layout much more predictably.
On simple two layer boards without sensitive nets, you should expect a complete route in minutes. Boards with dense placement, large trace widths, or strict layer reservations will take longer, but the model now recognizes when it has converged so it avoids wasting credits on unproductive search.
AI credit usage varies based on design complexity, routing constraints, and the length of the run. Here are reference points to help you plan.
If your board includes complex exceptions, tight fanouts, thick power nets that must enter small pads, or manually reserved layers, it may require additional credits. You can always see your live credit usage while the job runs.
This update makes both time and credits more predictable. When the router is progressing toward a strong solution, it continues. When it has reached a point of diminishing returns, it stops. That balance keeps your workflow moving and helps you budget runs more effectively across both two and four layer designs.
This update moves AI Auto Layout closer to the experience many of you have been asking for: cleaner routing, better electrical behavior, faster convergence, and layouts that move you toward a manufacturable board with less effort. It now handles both two and four layer designs more reliably, especially when you provide clear rules and route your most sensitive nets before handing off the rest.
We would love to hear how it performs on your next project. Try it on a real board, share your results, and tell us what you want to see next. Your feedback continues to shape every release.
Try it out today and let us know what you think in Slack.
{{try-ai-auto-layout-today}}
{{underline}}
Traditional autorouters focus on connectivity and shortest paths, which often produces layouts that are tangled, brittle, or difficult to review. AI Auto Layout reasons over placement, net classes, and electrical intent. It places vias more intentionally, follows natural routing channels, and stops when it reaches a strong solution. The result looks closer to a thoughtful first pass from an experienced engineer.
AI Auto Layout performs well on many two and four layer designs, especially when you provide clear rulesets and manually route the most sensitive nets first. It can fully route simple and moderately complex boards. Larger or more constrained designs also work well when critical nets, tight timing paths, or strict layer reservations are guided by hand before running the AI.
On well-prepared two layer boards without sensitive nets, most runs complete in minutes. Four layer and up designs vary more based on placement density, routing constraints, and net priorities. The model is tuned to recognize diminishing returns, so it avoids wasting credits.
Credit usage depends on component count, constraints, and overall geometry. Typical ranges:
You can see your live credit usage while the job runs.
You will get the best results if you:
This mirrors the workflow most teams use when blending manual routing with AI assistance.
Yes. You can define rulesets by net class, set trace widths and clearances, choose via sizes, add zones and keepouts, and guide placement with manual fanouts. Clear, realistic constraints significantly improve results.
Throughout this process, your data remains yours. We employ robust encryption and modern data centers to keep your information secure, just like the trusted cloud services you rely on daily. If you want to learn more, please take a look at our Privacy Statement.
Thousands of you put it through its paces. You tried it on real boards, found its edges, and told us exactly what would make it more useful in your workflow. Your feedback shaped every improvement in this release.
This update builds on the same vision as the first release. Layout should feel intuitive from setup to review, and AI should handle the repetitive work so you can stay focused on design.
This version of the model is not designed to fully autoroute every class of board without your input. You should still expect to step in for high speed interfaces, tight length matching, unusually thick power nets that land on small pads, and designs with strict layer reservations. The sweet spot today is a workflow where you define the important constraints and critical paths, then let AI Auto Layout finish the remaining 80 percent.
The more context you give AI Auto Layout, the better the results. When rules are realistic, sensitive areas are protected, and critical signals are handled up front, the router can focus on what it does best: finishing the busy work in a way that looks like a human EE’s layout.
If you want to see what a well-prepared setup looks like, check out this ESP32 Espresso Smart Scale project. You can even run AI Auto-Layout to see it perform it’s magic.
Here is a quick checklist to prepare your board before you run Auto Layout.
Learn more about how to setup your project by watching this video tutorial or reading the documentation on AI Auto-Layout.
Traditional autorouters treat routing as a geometry puzzle. They chase shortest paths and resolve constraints, but ignore the realities that matter to engineers: manufacturability, signal behavior, and the ability to understand the layout at a glance. The result is familiar. Tangled traces. Excessive vias.
AI Auto Layout approaches the problem differently. It learns patterns that resemble human decision-making and adapts its choices as it routes, which leads to results that feel deliberate, balanced, and easier to work with.
This update sharpens that behavior. The routing is cleaner, straighter, and more aligned with your placement intent. You will see fewer unnecessary layer transitions, more predictable via placement, and stronger power paths. Layouts are easier to review, reason about, and move toward manufacturable results. In many cases, the output looks like a thoughtful first pass from an experienced engineer.
Clean Power Distribution: Auto-Layout routed the 5V0 and 3V3 rails with solid continuity, avoiding broken return paths and keeping them isolated from noisy elements like the antenna and full-speed SD card. The result is stable power delivery with fewer opportunities for interference.
Reliable Signals Across High-Power Copper: Auto-Layout navigated routing around high-power copper while preserving the integrity of critical feedback signals. The results are cleaner paths, fewer compromises, and a design that behaves exactly as intended.
Less Layer Transitions and Vias: By intelligently routing traces, it creates cleaner signal paths, improves electrical performance, and helps simplify manufacturing. The result is a more efficient, robust board design with fewer potential points of failure and often lower production costs.
High-Speed Signal Pathfinding: Auto-Layout roughed in clean first-pass routes for medium-complexity boards, including a 3-lane MIPI-CSI interface, the ESP32’s QSPI bus, and its critical clock lines. It maintained proper layer separation, avoiding routing traces directly beneath each other on adjacent layers to help preserve signal quality.
AI Auto Layout is faster in this release. On well prepared boards, the new model reaches strong solutions sooner and stops when further search is unlikely to improve quality. You avoid long, wandering runs and get to a clean layout much more predictably.
On simple two layer boards without sensitive nets, you should expect a complete route in minutes. Boards with dense placement, large trace widths, or strict layer reservations will take longer, but the model now recognizes when it has converged so it avoids wasting credits on unproductive search.
AI credit usage varies based on design complexity, routing constraints, and the length of the run. Here are reference points to help you plan.
If your board includes complex exceptions, tight fanouts, thick power nets that must enter small pads, or manually reserved layers, it may require additional credits. You can always see your live credit usage while the job runs.
This update makes both time and credits more predictable. When the router is progressing toward a strong solution, it continues. When it has reached a point of diminishing returns, it stops. That balance keeps your workflow moving and helps you budget runs more effectively across both two and four layer designs.
This update moves AI Auto Layout closer to the experience many of you have been asking for: cleaner routing, better electrical behavior, faster convergence, and layouts that move you toward a manufacturable board with less effort. It now handles both two and four layer designs more reliably, especially when you provide clear rules and route your most sensitive nets before handing off the rest.
We would love to hear how it performs on your next project. Try it on a real board, share your results, and tell us what you want to see next. Your feedback continues to shape every release.
Try it out today and let us know what you think in Slack.
{{try-ai-auto-layout-today}}
{{underline}}
Traditional autorouters focus on connectivity and shortest paths, which often produces layouts that are tangled, brittle, or difficult to review. AI Auto Layout reasons over placement, net classes, and electrical intent. It places vias more intentionally, follows natural routing channels, and stops when it reaches a strong solution. The result looks closer to a thoughtful first pass from an experienced engineer.
AI Auto Layout performs well on many two and four layer designs, especially when you provide clear rulesets and manually route the most sensitive nets first. It can fully route simple and moderately complex boards. Larger or more constrained designs also work well when critical nets, tight timing paths, or strict layer reservations are guided by hand before running the AI.
On well-prepared two layer boards without sensitive nets, most runs complete in minutes. Four layer and up designs vary more based on placement density, routing constraints, and net priorities. The model is tuned to recognize diminishing returns, so it avoids wasting credits.
Credit usage depends on component count, constraints, and overall geometry. Typical ranges:
You can see your live credit usage while the job runs.
You will get the best results if you:
This mirrors the workflow most teams use when blending manual routing with AI assistance.
Yes. You can define rulesets by net class, set trace widths and clearances, choose via sizes, add zones and keepouts, and guide placement with manual fanouts. Clear, realistic constraints significantly improve results.
Throughout this process, your data remains yours. We employ robust encryption and modern data centers to keep your information secure, just like the trusted cloud services you rely on daily. If you want to learn more, please take a look at our Privacy Statement.


Copilot bridges the firmware<>hardware gap by providing firmware engineers with direct access to hardware information like netlists and pins, streamlining firmware development and reducing delays.
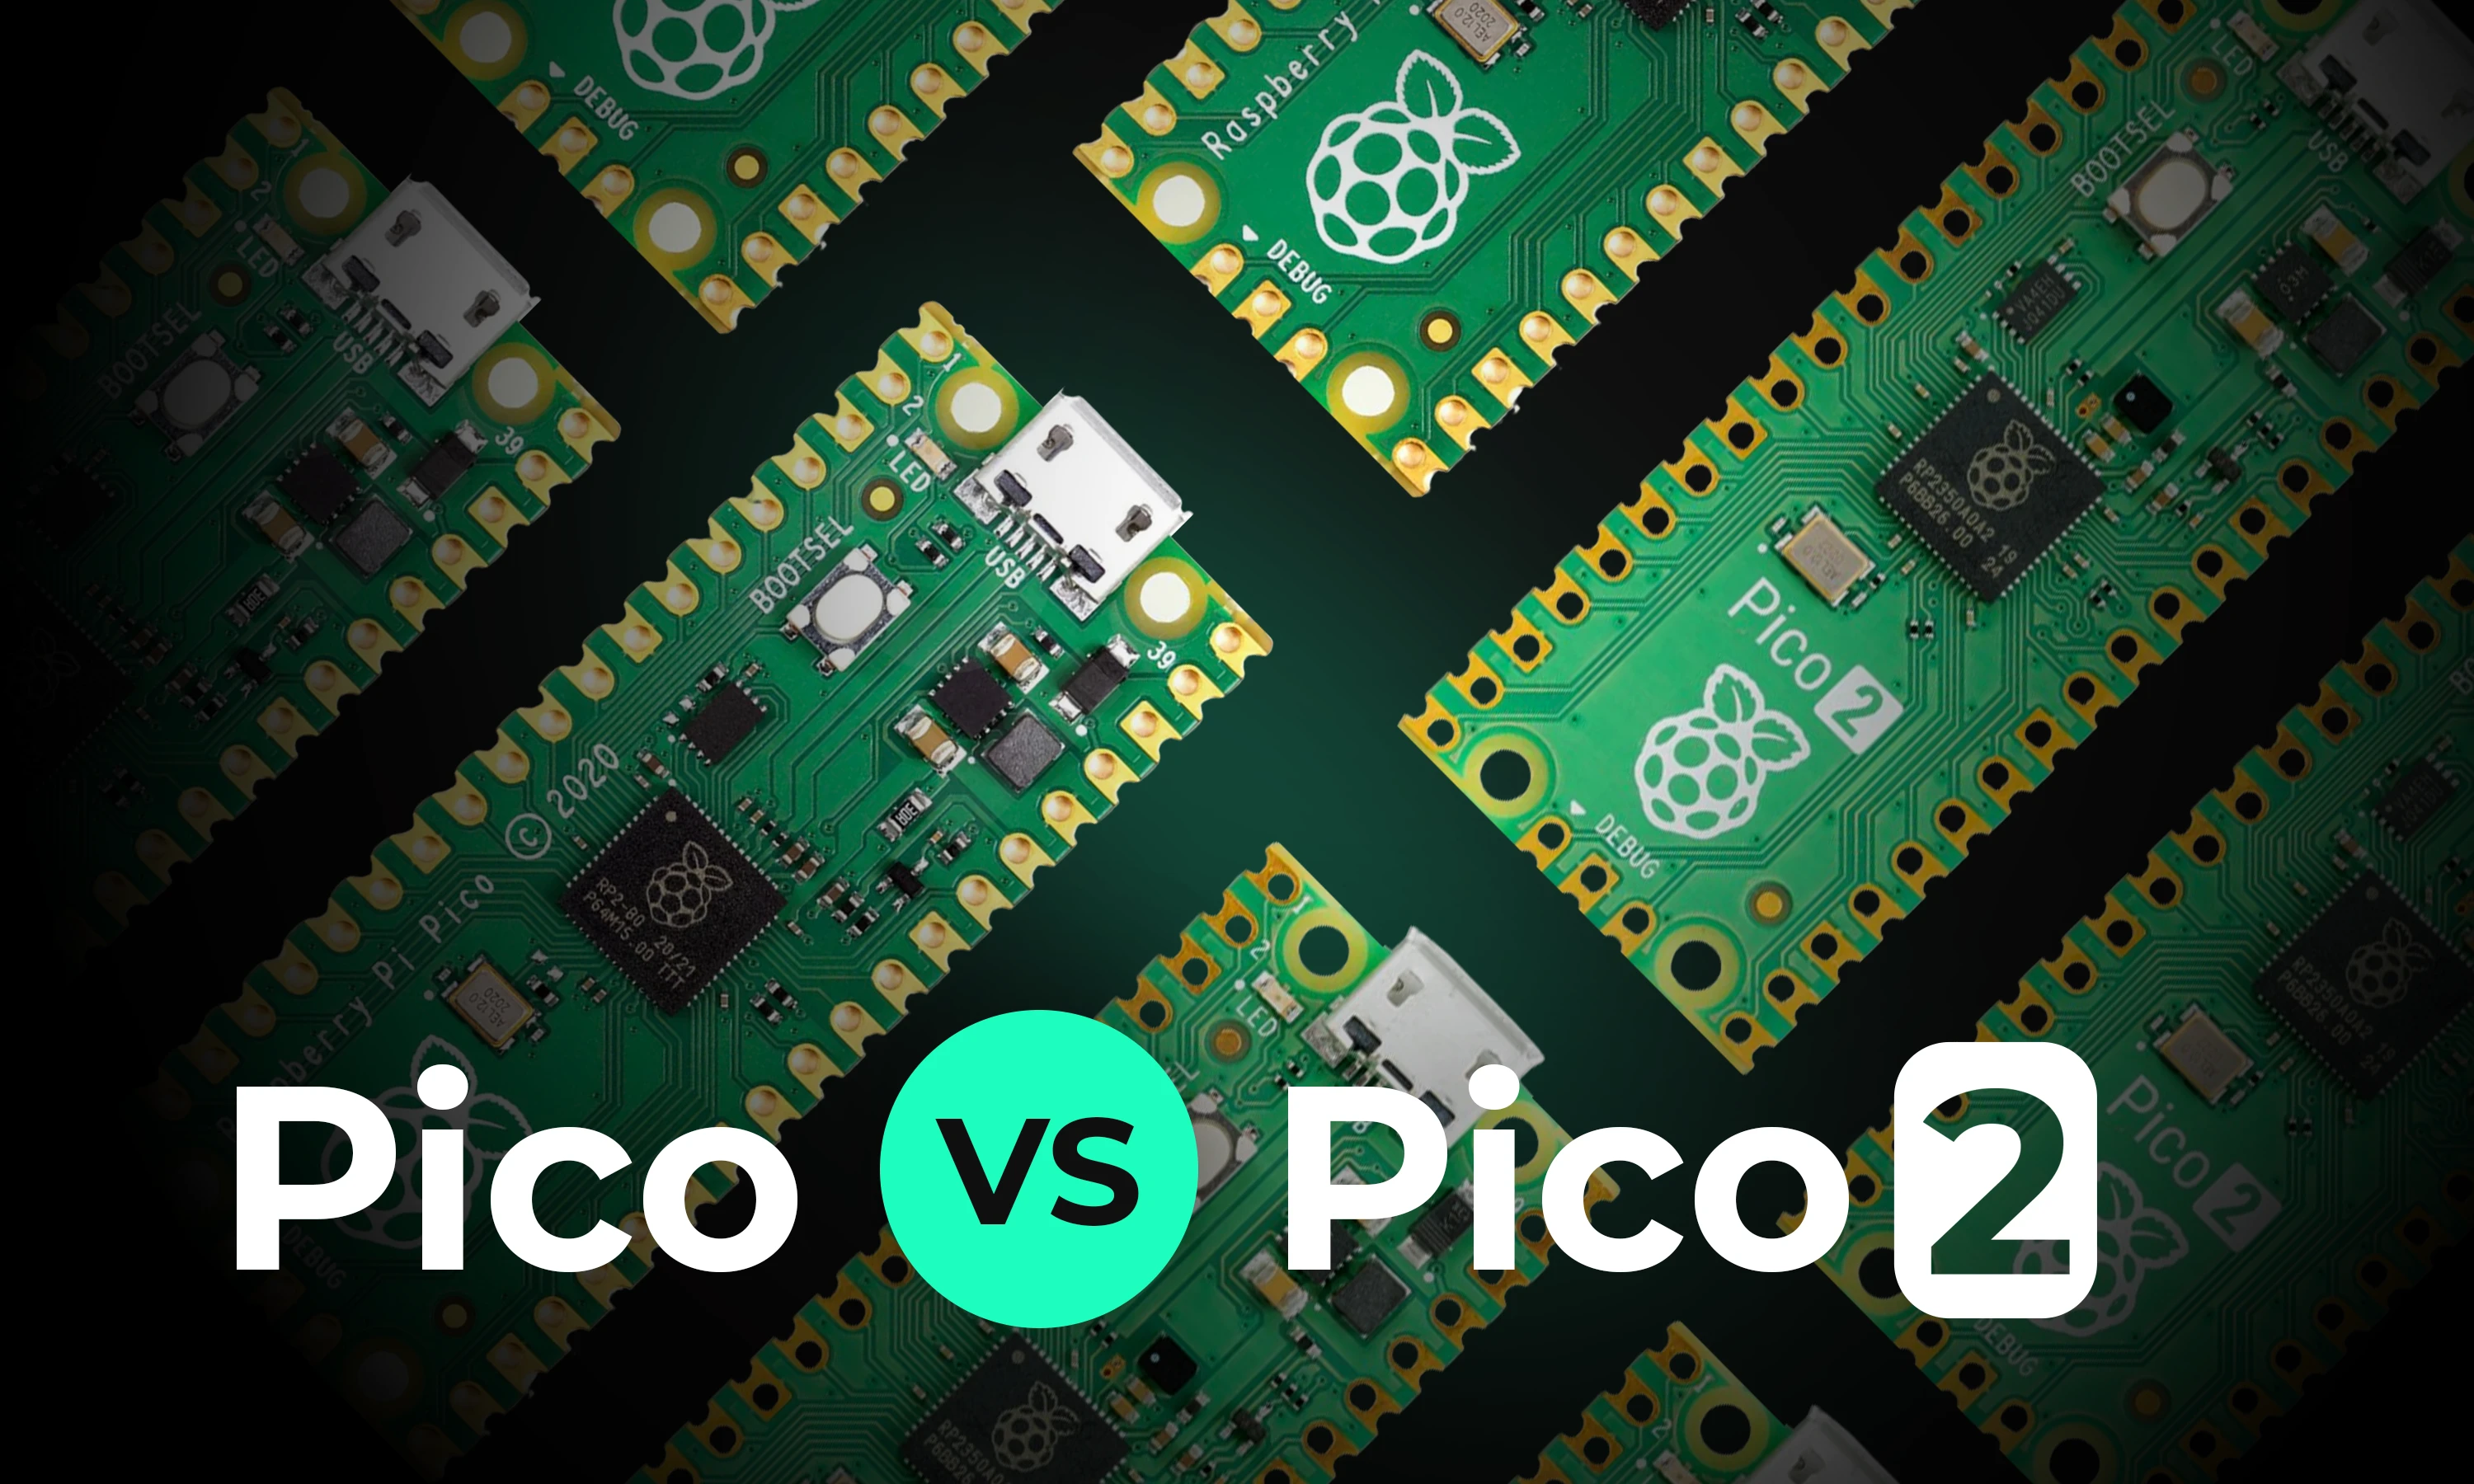
This article will explore the key differences between the original Raspberry Pi Pico and the new Raspberry Pi Pico 2, focusing on the most significant enhancements and what remains unchanged.

We’re excited to announce our partnership with Ultra Librarian to bring millions of high quality and trustworthy components directly to the Flux ecosystem. This partnership marks a big step towards bringing together all semiconductor manufacturers, distributors, engineers, and the whole hardware industry.
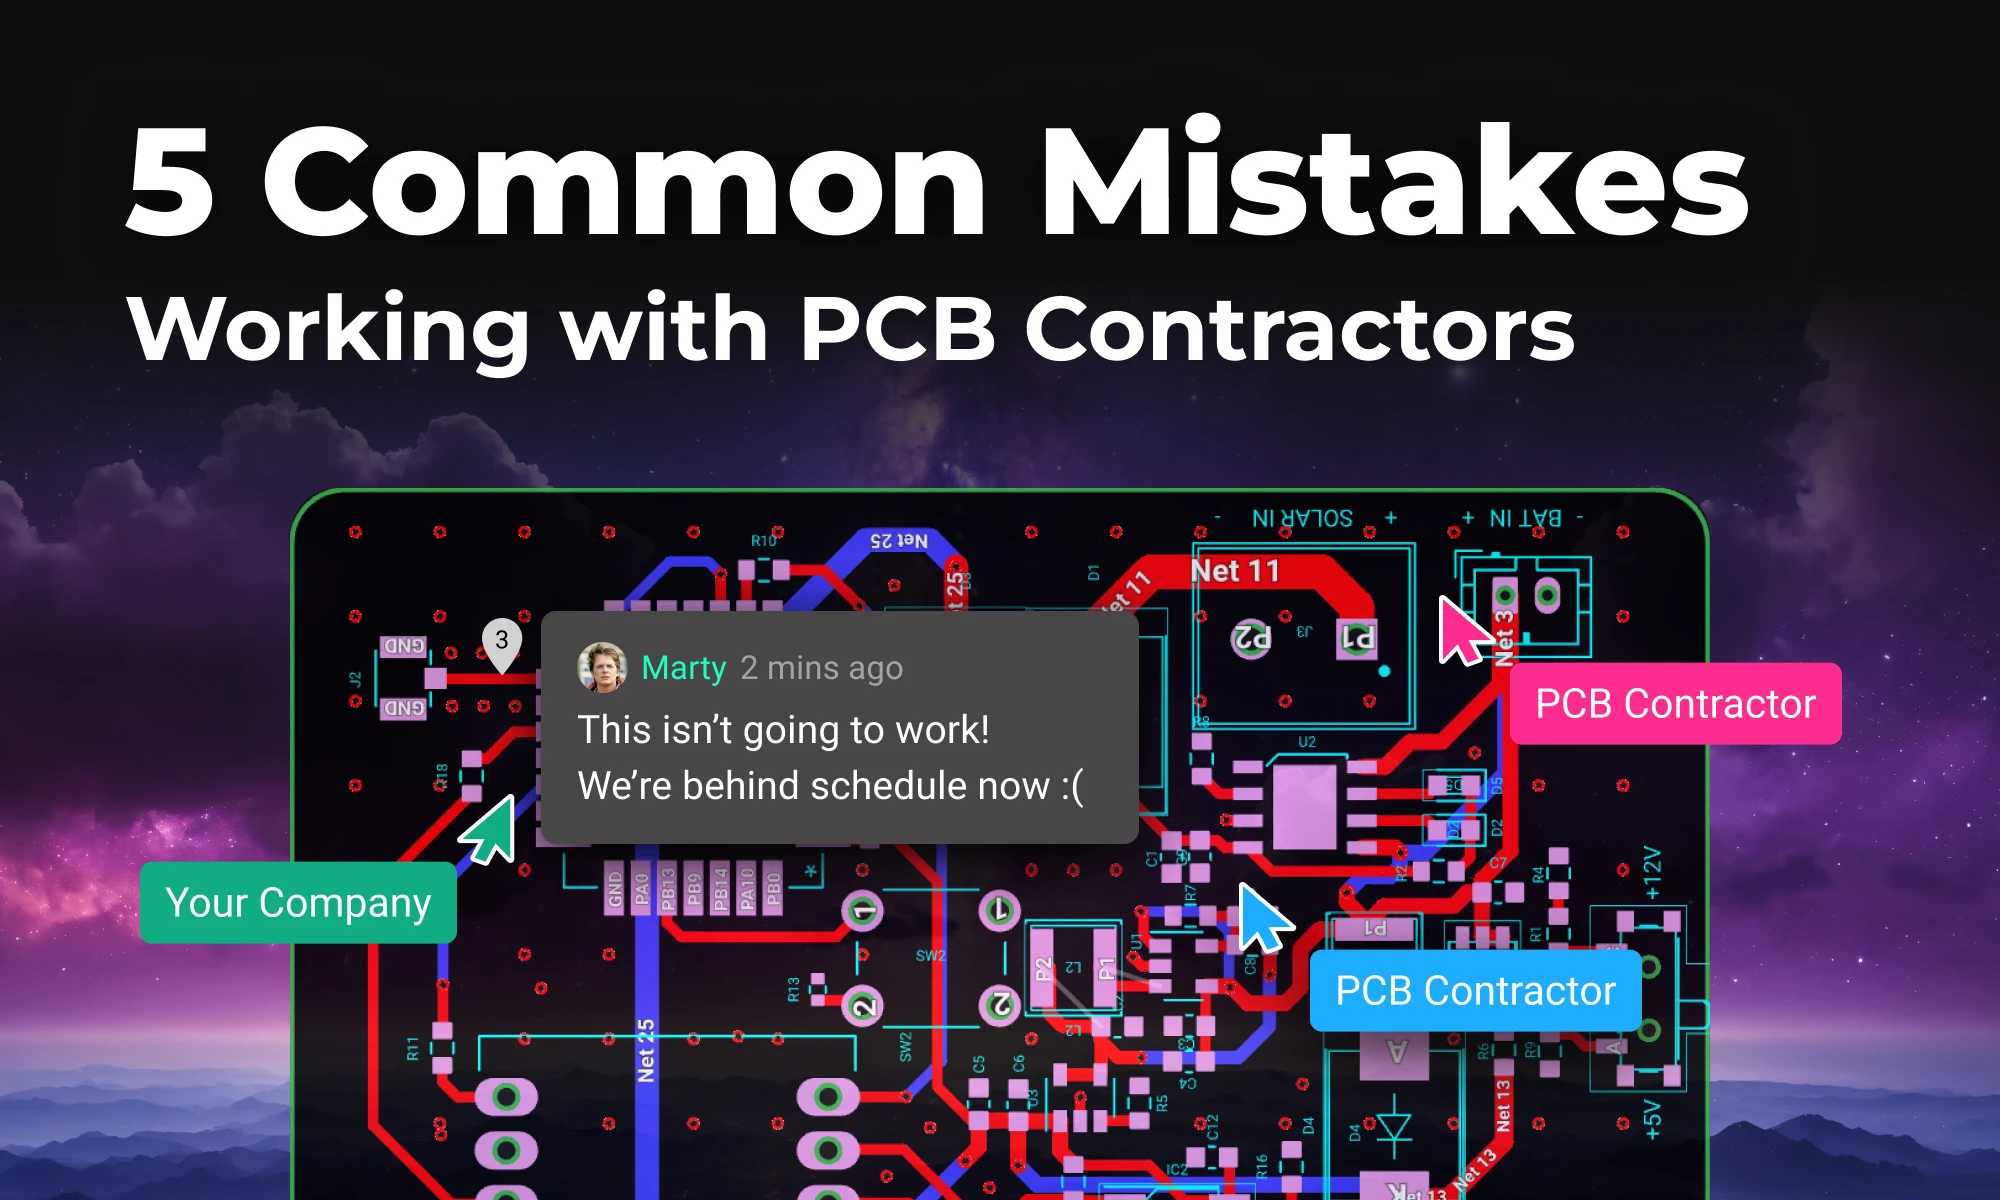
In this post, we’ll explore five common mistakes companies make when contracting PCB design and how you can avoid them by using tools like Flux to keep your project on track, from concept to completion.
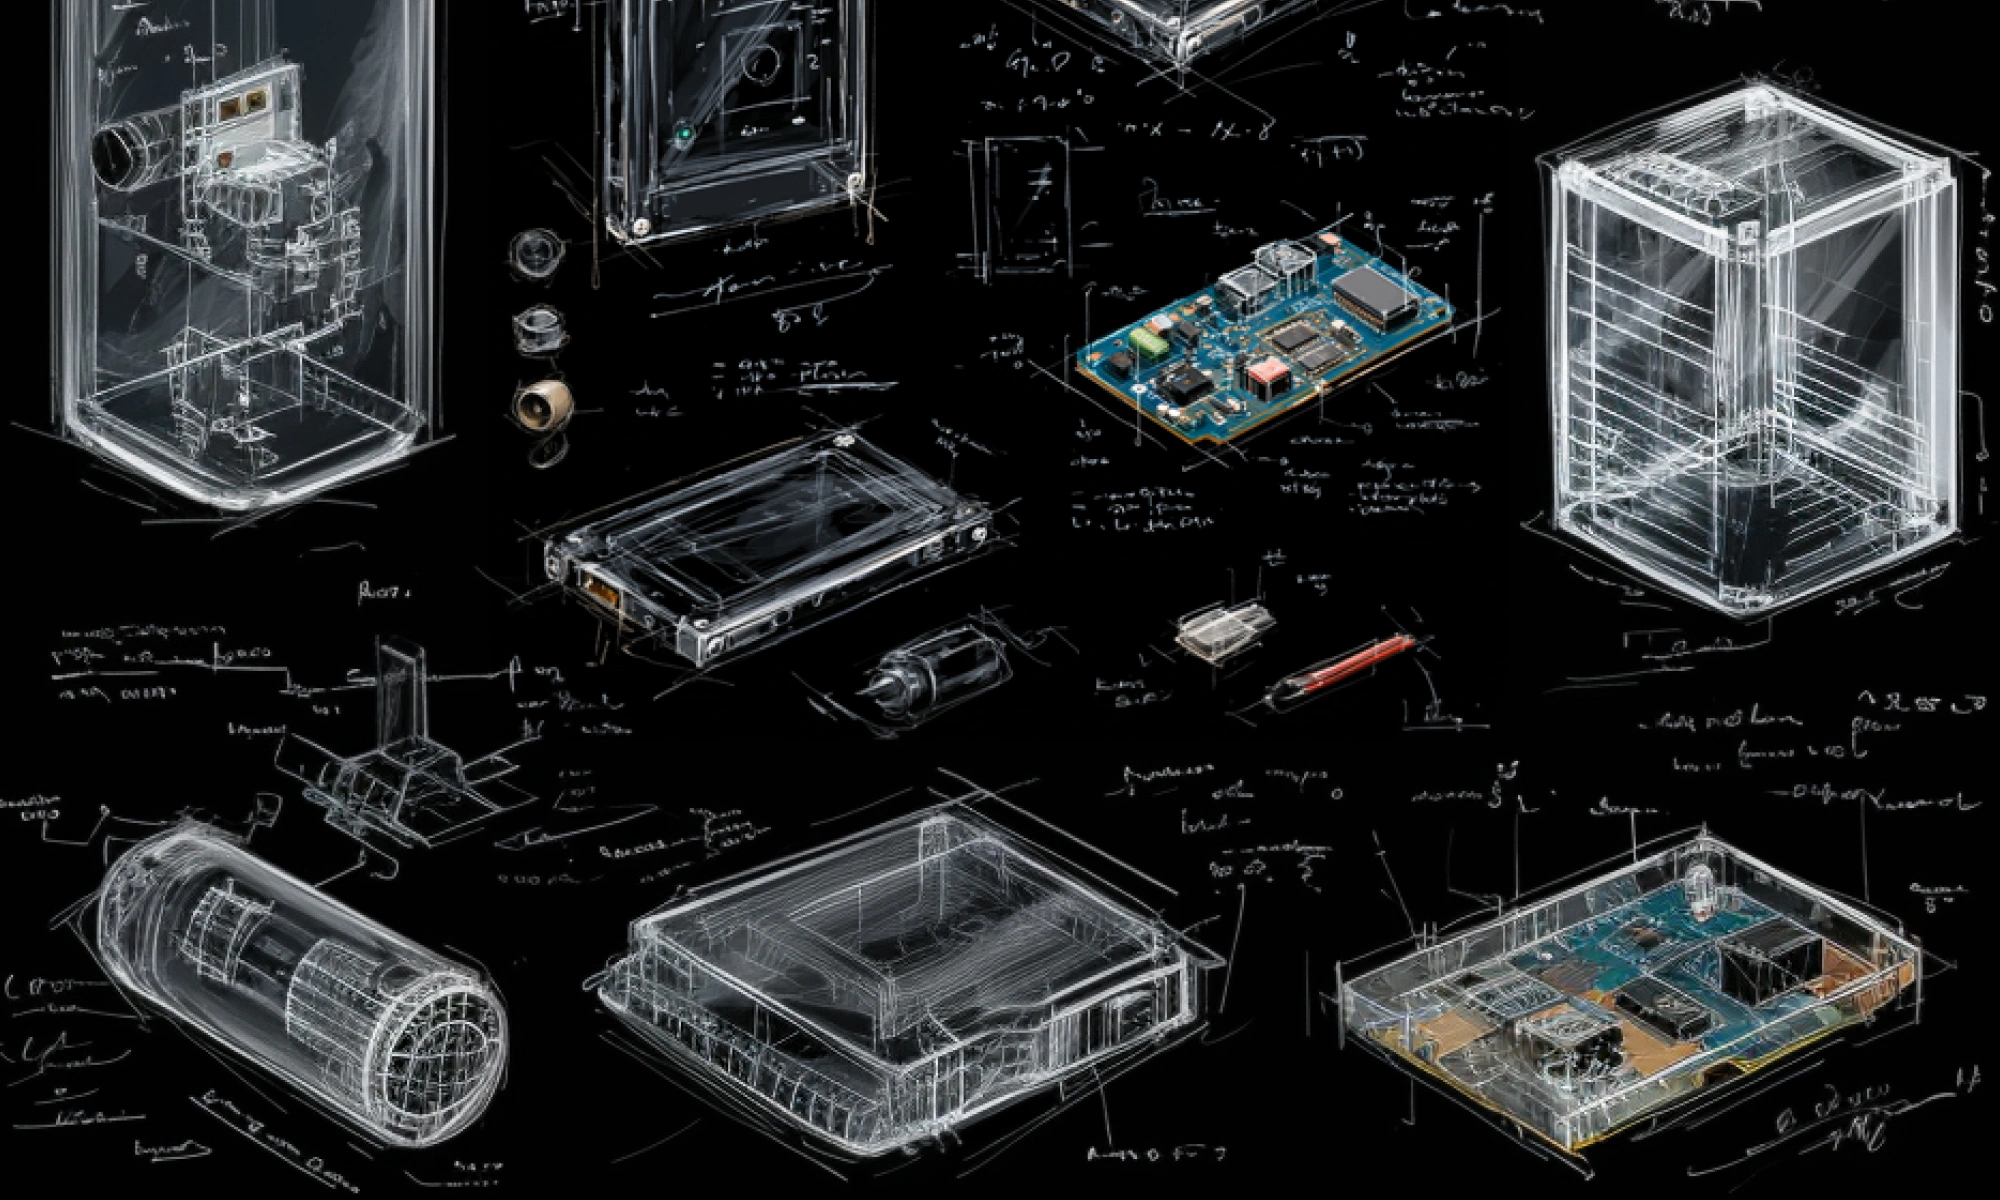
Are you creating the right hardware solution for the problem that truly matters? Learn how to validate ideas, prototype fast, and use modern tools to turn concepts into successful products.

RJ45 connectors enable fast data and power transmission in Ethernet networks. They're vital for reliable connectivity in homes, offices, and data centers.

Explore more than 20 new Flux Copilot prompts for hardware design. Accelerate brainstorming, component selection, validation and design review to streamline your PCB design.

We’ve been so amazed with the ways you’ve used Copilot to brainstorm, debug, and conduct part research that we’ve compiled some of our favorite prompts you can copy and paste, or modify for your own use!

Flux moves from one-off actions to executing multi-step workflows including researching parts, creating schematic designs, placing and routing, and running checks. Think of Flux as a capable intern — fast, explainable, and eager to learn, but still needing oversight and occasional help.
This post will give you a deeper understanding of how Flux Copilot works, how large language models (LLMs) and agentic systems operate under the hood, and why grounding them in engineering context matters.

In this post, we’ll show you exactly how to unlock the power of Flux Copilot for yourself: from writing rock-solid triggers to scoping entries at the project, user, and system levels.

Designing an AI pin would normally take months, but in this project, we did it in hours. In our step-by-step guide, you'll see how Flux can accelerate your design process and bring your AI pin project to life.